
This article will show you how to add a banner or pop-up on your website using GTM.
Notes: You must have a Google Tag Manager Account and have GTM connected on Zyda's dashboard. You can check this article to check [How to setup Google Tag Manager, Google Analytics 4 🤔]
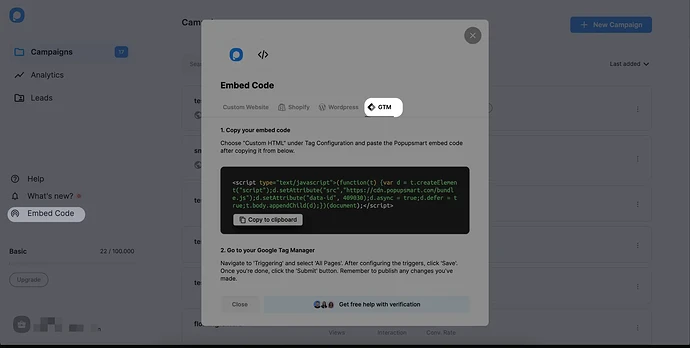
1. Log in to your Popupsmart account. Click [Embed Code] on the left sidebar and choose [GTM] as the category. Copy the code from the modal with [Copy to clipboard]
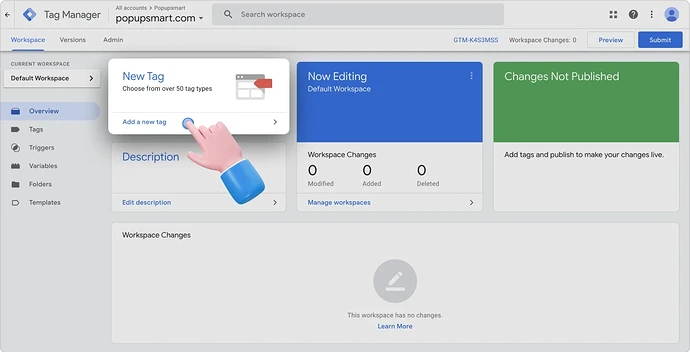
2. On another tab, go to your GTM account and choose [Add a new tag] on the dashboard
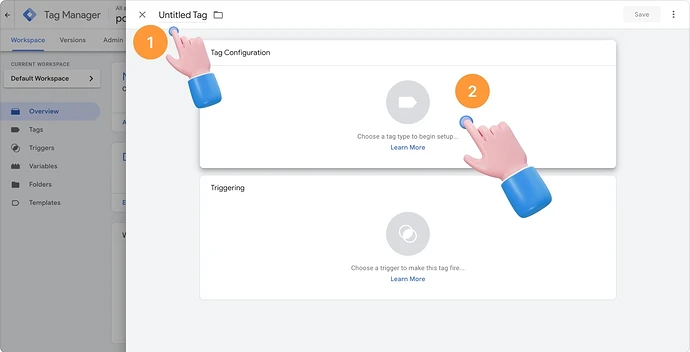
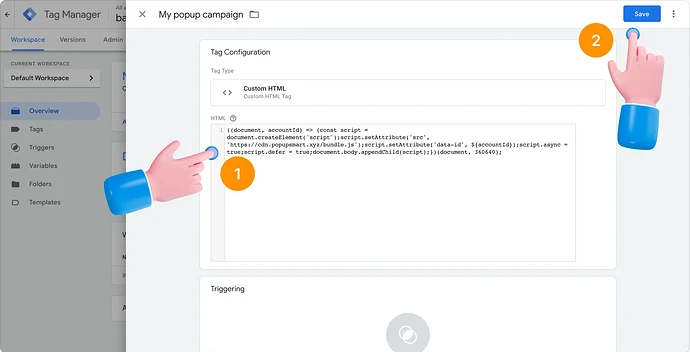
3. Name your tag on the Untitled Tag and click [Tag Configuration]
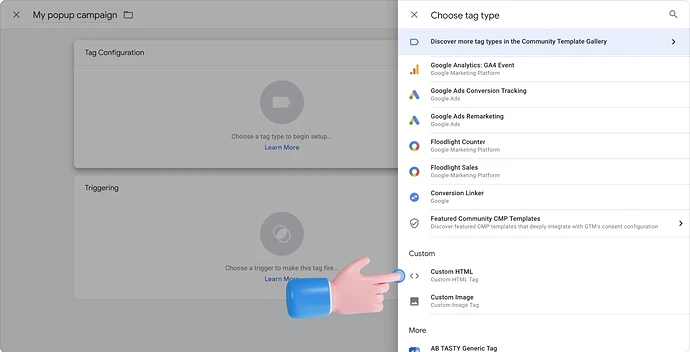
4. To enter your Popupsmart embed code, you need to choose [Custom HTML]
5. Then, paste your embed code for the empty HTML field
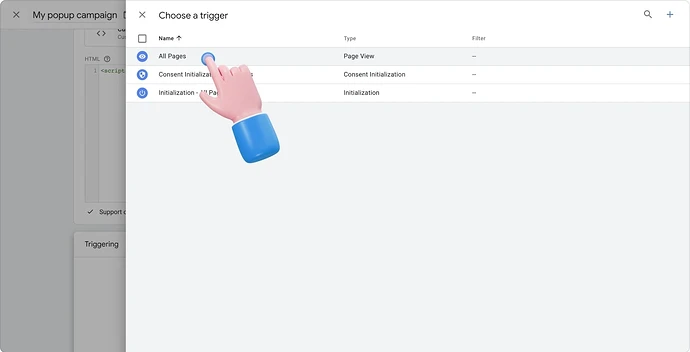
6. Scroll down to click Triggering and [All pages]. Choosing [All Pages] helps you make Popupsmart work on all your pages
Note: If you want popups to appear only on product pages:
- In Triggering, instead of [All Pages] go with [Some Page Views]
- Define a rule like:
- Page URL contains
/products/
- Page URL contains
That way, it doesn’t interrupt users on your homepage or blog as Popupsmart is script-based, it doesn’t slow down page load. Just make sure to publish the GTM container and clear your cache.
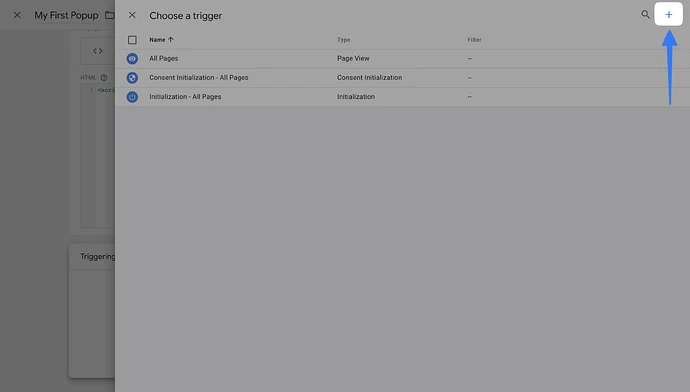
➡️ After clicking Triggering, choose the [+] icon in the upper-right corner
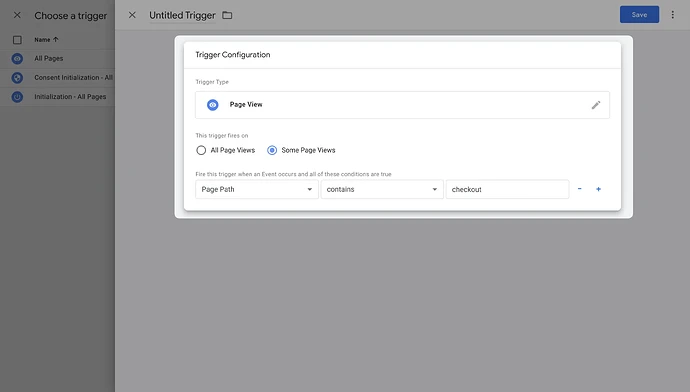
▶️ ▶️ For the Trigger Configuration, choose [Page view] as the trigger type
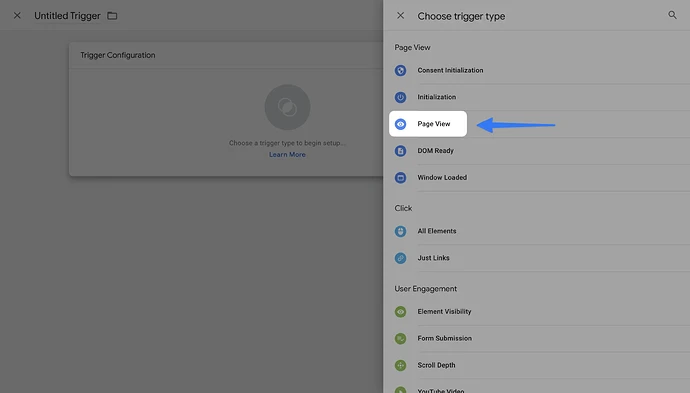
➡️ Choose [Some Page Views] and customize the conditions then click [Save]
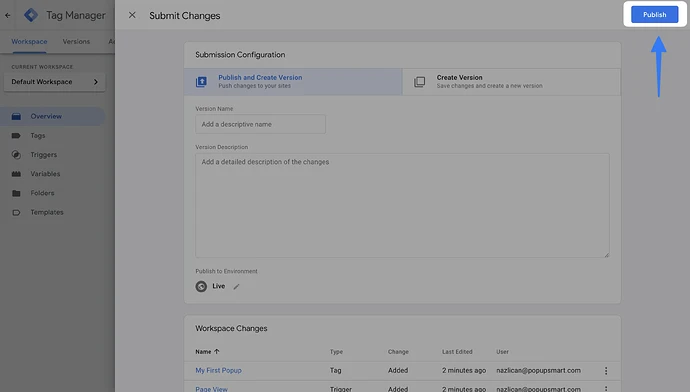
7. Once you have completed all the configurations, [Submit] all the changes

8. Finally, you need to click on [Publish]
To watch a short video on how to add a pop-up page on your website 🤔