Option groups helps you display item choices clearly, so customers can easily select what they want.
User Authority
The following roles can create an option group:
-
Owner ✅
-
Manager ✅
-
Operator ❌
Steps to Create an Option Group
1- Go to Menu > Items.
2- Select the item you want to create an option group for.
3- In the Modifiers section, scroll down to Option Groups.
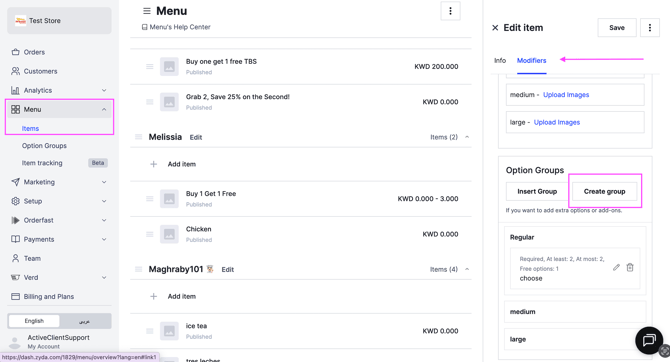
4- Click Create Group and fill in the details: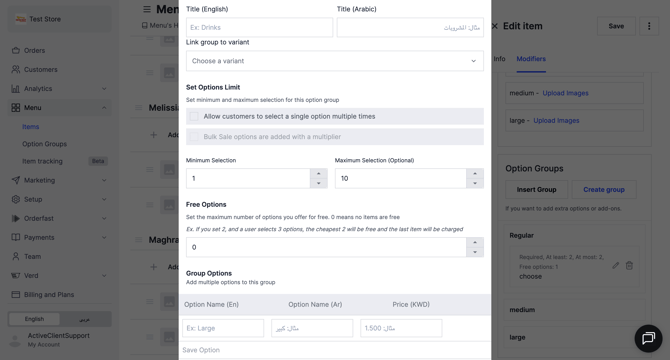
Group Name – Enter in English & Arabic.
Link Group to Variant – Choose which item variants the option group should appear for. You can apply it to one variant, multiple, or all variants.
Set Options Limit – Enable Allow customers to select a single option multiple times if you want them to pick the same option more than once.
Bulk sale options are added using a multiplier – This feature is useful when you sell packages or items with a fixed number of pieces.
For example, if you have a box that contains 50 pieces, you can allow customers to select the quantity per option (such as choosing 5 pieces from the same option multiple times) until they reach the total of 50 pieces.
Free Options – work perfectly for offers, as the system automatically makes the cheapest option free when you set the number of free options.
Exclude Option – Mark an option to disappear for certain variants or items.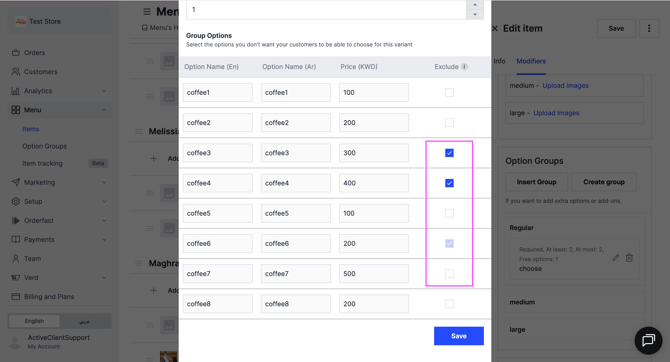
Minimum & Maximum Selection –
-
Minimum = 0 → optional selection
-
Minimum ≥1 → selection is required
- Maximum → optional, limits how many options a customer can choose
-
Maximum = 0 → unlimited selection
Group Options – enter the option names in English & Arabic, and add their prices if needed (you can set the price to 0 for free optional add-ons).
Important note: you have to click save option to add a new empty one, then click Save.